Section-13, Cable bundle 1, connecting to the management enclosure
Procedure
Important: For all cable connection in this document:
- If present, the cable connector plastic protectors must be removed before plugging.
- If present, connector with dust plugs must only be removed just before a cable being plugged.
- DO NOT REMOVE dust plugs if a cable will not be connected.
-
Unwrap the cable group at the cable management front arm, behind the management enclosure. See
Figure 1.
Figure 1. Management enclosure cable group wrapped 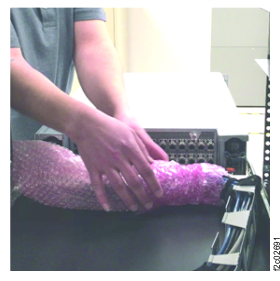
-
Connect the cables to the rear of the management enclosure.
- It is recommended to connect the lower cables from right to left.
- Then, connect the upper cables from right to left.
- Leave some slack in each cable to allow it to move when the enclosure is moved fully in and fully out.
Figure 2. Management enclosure cables, rear 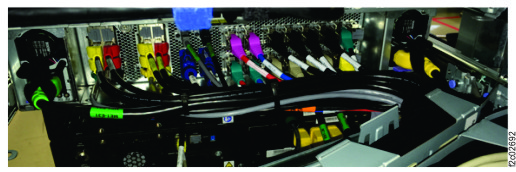
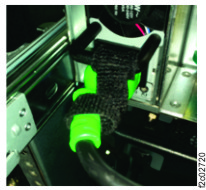
- Fasten each power input cable to its power supply handle by using black hook-and-loop
cable ties. See Figure 3.
Figure 3. Fasten power input cable to power supply handle